Frequently Asked Questions
How to add a Terms & Conditions page to your registration flow
Last Updated 8 years ago
You can create one or more "Terms & Conditions" pages and then assign them to your class type.
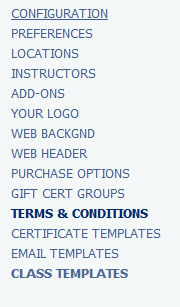
From the console, select Terms and Conditions from the menu options.

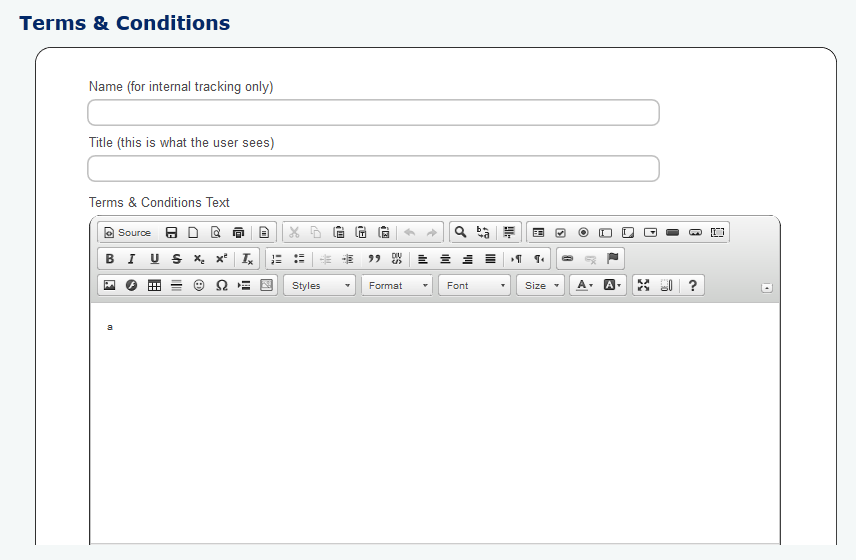
Name - This is just an internal name used for keeping track of your pages in the list.
Title - this is what the end user will see at the top of the page.
Text - This is where you put the bulk of your text. Some formatting options available in this box.

Once you have added one or more terms & conditions pages, go to the class template you wish to assign it to and you will see a dropdown box at the bottom, close to where you assign locations and email templates.

Save your changes. That's it!
Now the end user will see an extra screen after the registration screen and before the summary screen.
If the class template has the terms set to None the screen will not be displayed for classes of that type.

With this functionality you could have different terms and conditions for each class type if you like.
From the console, select Terms and Conditions from the menu options.
Name - This is just an internal name used for keeping track of your pages in the list.
Title - this is what the end user will see at the top of the page.
Text - This is where you put the bulk of your text. Some formatting options available in this box.
Once you have added one or more terms & conditions pages, go to the class template you wish to assign it to and you will see a dropdown box at the bottom, close to where you assign locations and email templates.
Save your changes. That's it!
Now the end user will see an extra screen after the registration screen and before the summary screen.
If the class template has the terms set to None the screen will not be displayed for classes of that type.
With this functionality you could have different terms and conditions for each class type if you like.